Interior Design Tools: What Pros Really Use in Modern Homes
Ever wonder what separates a room that looks thrown together from one that just works? Professionals manage that perfect blend by using the right tools—both digital and hands-on. If you think it’s all about guessing with paint swatches or random pillow shopping, think again. There’s real strategy involved.
The pros plan everything before moving a single chair. That usually starts with software—think SketchUp or AutoCAD—not doodles on napkins. Their designs get mapped out in 3D so they can walk a client through the vision before anything gets purchased. This isn’t just about fancy graphics; real measurements save a ton of pain later. Plus, if you like experimenting with layouts, these programs let you move walls without breaking a sweat (or the bank).
- Digital Tools: The Backbone of Modern Design
- The Power of Mood Boards
- Materials and Samples Pros Always Have
- Lighting: The Hidden Game-Changer
- Measuring Up: How Pros Get It Right
- Bringing It All Together: Communication and Execution
Digital Tools: The Backbone of Modern Design
The days when designers used paper floorplans and color swatches are behind us. These days, the interior design industry runs on digital tools that do way more than pretty renderings. Pros rely on them to save time, dodge mistakes, and help clients see the end result before a single piece of furniture arrives.
The right software lets designers create super accurate 2D and 3D plans. SketchUp is a huge favorite for its speed and realism—think of it like building with digital LEGO, except you can click "undo." AutoCAD is another major player, especially for layouts that need precise measurements. Want to show how the sunlight hits a space at noon? These tools make it happen in minutes. Even photorealistic rendering programs like Enscape or Lumion are popping up everywhere to give that almost "real-life" virtual look.
Room layout apps aren't just for fun—they solve real problems. With tools like Roomstyler or the 3D planner from IKEA, you can drop in actual products from real catalogs and see exactly how the room will come together. No more guesswork. Plenty of designers also use Adobe Photoshop and Illustrator for creating mood boards, fine-tuning colors, or visualizing a specific carpet pattern in a virtual setting.
Check this out—when it comes to picking software, here are the most used by pros in 2024:
| Software | Main Use |
|---|---|
| SketchUp | 3D modeling and virtual walkthroughs |
| AutoCAD | Accurate floor plans and technical layouts |
| Enscape | Photo-like renderings |
| Roomstyler | Quick furniture planning with real products |
| Photoshop | Editing, mood boards, color work |
If you’re thinking about trying any of these tools, start small. Most have trial versions or beginner tutorials online. And don’t be afraid to mess up—undo is your best friend here. Watching even just a few YouTube how-tos can seriously boost your confidence, whether you’re a homeowner DIY-ing or just want to talk shop with a hired designer.
The Power of Mood Boards
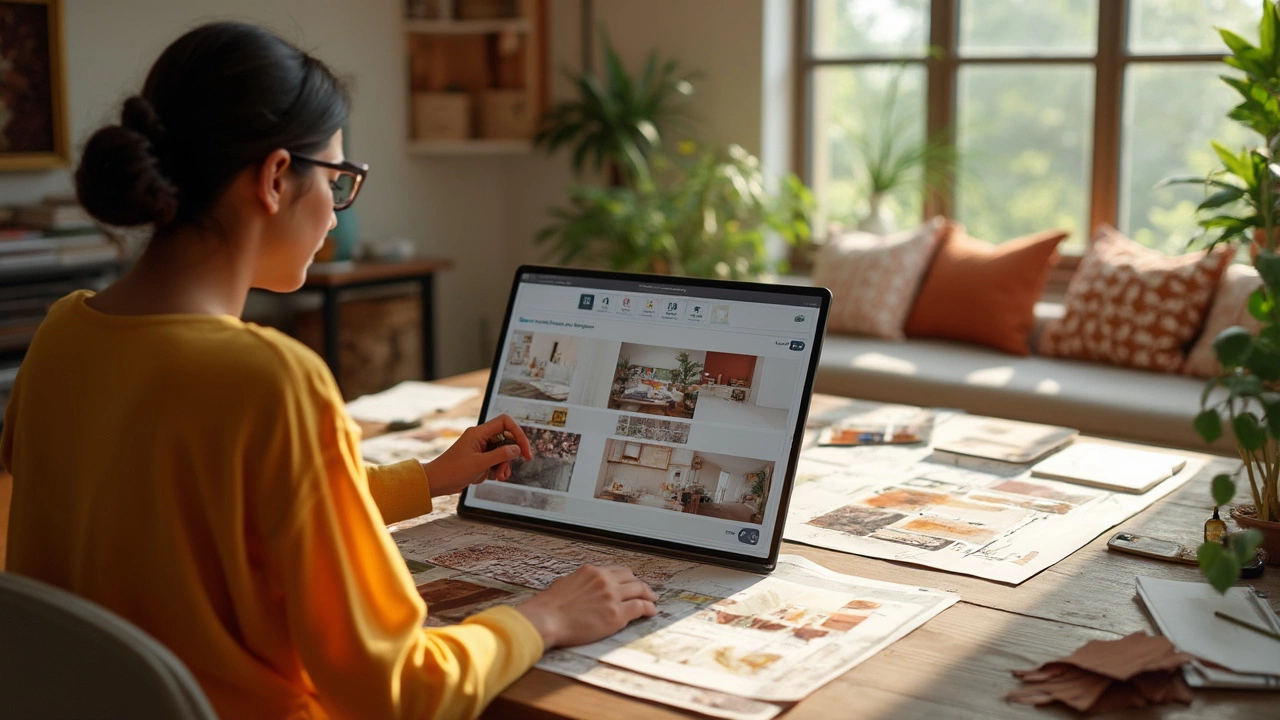
If you’ve ever stalked interior designers on Instagram or Pinterest, you’ve seen mood boards in action. These boards are how pros pull ideas out of the chaos and make sense of what a space should feel like before lifting a finger. A mood board is more than just a collage—it’s actually a planning tool that keeps everyone on track during the design process.
Designers use mood boards to get the vibe right from the start. Whether digital (created in Canva, Milanote, or even PowerPoint) or physical (with fabric swatches and paint chips stuck to a poster board), these things let you see how colors, textures, and styles play together before buying anything. This step cuts down on expensive mistakes.
Top studios always make mood boards for client presentations. A recent 2024 survey from ASID (American Society of Interior Designers) said that 82% of professional designers use mood boards for every project, not just the big expensive ones. They say it helps clients visualize designs and makes approval faster, which keeps projects moving.
- Colors: Laying out all the tones you’re considering in one spot gives quick feedback—is everything clashing, or does it look soothing?
- Textures: Mixing in samples of fabric, stone, or wood helps you notice what’s missing (like maybe your design is all hard edges—add something soft!)
- Inspiration images: Pull in pics from magazines, brands, or even hotels you love. Anything that shows your style or what you want your home to feel like.
- Accessories: Toss in light fixtures, art, or plants you’re eyeing. Even stock images help show how it all clicks together.
If you’re planning your own redesign, try building your own mood board before shopping. Even just snapping pics with your phone and laying things out in a folder can save cash and frustration. And if you’re working with a pro, expect to see at least one mood board before any real spending starts.
| Designers Surveyed | Use Mood Boards Regularly | Only Use on Large Projects |
|---|---|---|
| 600 | 82% | 13% |
The mood board isn’t just pretty—it’s the playbook that guides interior design choices, saving everyone headaches and dollars down the road.
Materials and Samples Pros Always Have
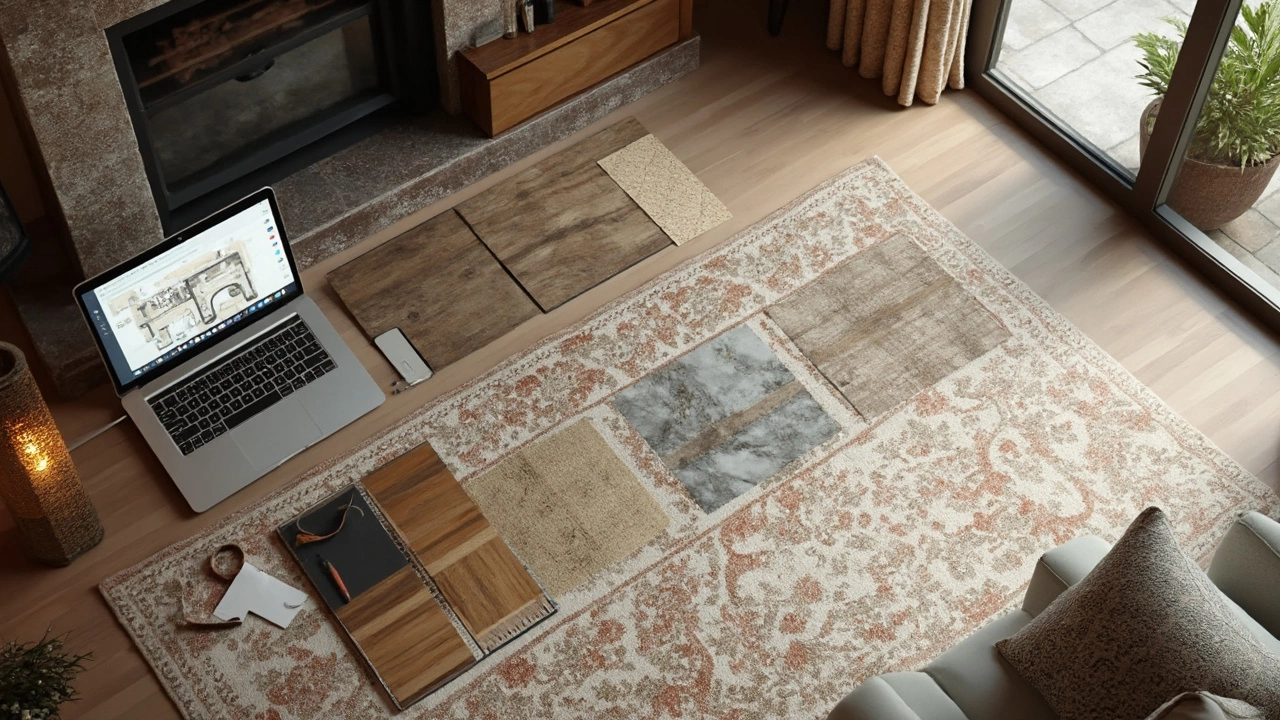
Walk into any real designer’s office or studio, you’ll spot a stash of samples—fabric swatches, paint chips, wood tiles, metal pieces, and way more. There’s a reason behind this mixed bag. No pro is picking a sofa or a wall color from guesswork alone. They test everything in real light and, honestly, what looks great online often falls flat in your own space.
Fabric swatches are a must because textures and shades change in different lighting. Designers keep a variety of cotton, linen, velvet, and performance blends handy. Same thing with wood: oak, walnut, maple, and bamboo samples help match the flooring to cabinets and furniture, so nothing clashes. Metal finish chips (like matte black, brass, or brushed nickel) are also part of the kit, especially for all those little details—think handles, lamps, and fixtures.
Don’t skip on paint chips. Just grabbing a color online is a rookie mistake—swatches from brands like Benjamin Moore or Sherwin-Williams let you tape colors on the wall and check them at different times of day. One pro tip: always sample at least two shades lighter and darker than your main pick because lighting is messy and can trick your eyes.
- Fabric and upholstery swatches
- Wood and laminate samples
- Paint color chips
- Metal and finish chips
- Tile and stone samples (ceramic, porcelain, marble, terrazzo)
Even pillows, rugs, and curtain samples matter. Pros want to feel the weight and see how materials drape or hold up to wear. It’s all about making sure each element fits together before you shell out for the full install.
Here’s something that surprised me too: some designers use a light box to check how materials look under warm, cool, and natural daylight bulbs. A chair fabric may go from trendy to dated with just a change of bulb color.
| Sample Type | Why Pros Use It | Typical Quantity |
|---|---|---|
| Paint Chips | Testing real color in natural lighting | 10-30 per project |
| Fabric Swatches | Check texture, durability, true hue | 15-40 per project |
| Wood Samples | Match finishes for floors and furniture | 8-20 per project |
| Metal/Finish Chips | Coordinate hardware with fixtures | 5-12 per project |
| Tile & Stone Pieces | Compare style, texture, maintenance | 10-25 per project |
Designers say the more samples you pull early on, the less “remorse” you have when everything comes together. If you care about getting your interior design right, don’t skip the samples. This is the step that saves money, nerves, and those embarrassing returns later.
Lighting: The Hidden Game-Changer
If there’s one thing that can make or break a modern home, it’s lighting. Interior design pros know that even the best furniture and color palette look off if the lighting isn’t right. This isn’t about just tossing in a few lamps; it’s about layering and planning for every mood and need.
The pros start by analyzing how natural light hits a room throughout the day. They’ll often use apps to track sunlight and shadows so they’re not guessing where it gets brightest or where glare could get annoying. After that, they think in layers: ambient, task, and accent lighting.
- Ambient lighting is the main light source—ceiling fixtures or recessed lights that fill the space.
- Task lighting focuses on practical stuff, like pendants over kitchen islands or reading lights in a nook.
- Accent lighting draws the eye—think LED strips under cabinets or spotlights on art.
A quick fact: the Illuminating Engineering Society recommends living rooms aim for about 20 lumens per square foot for ambient light. Most pros will grab a light meter—or a phone app—to make sure they’re in the right range.
Here’s a quick look at why designers obsess over different types of bulbs:
| Bulb Type | Color Temperature | Best For |
|---|---|---|
| LED | 2700–3000K | Everyday use, energy efficient |
| Halogen | 3000–3500K | Spot lighting, accent features |
| Smart Bulbs | Customizable | Changing moods, automation |
Professionals often work with dimmers so one room can switch from bright and energetic to cozy and relaxed. And almost every modern design plan—especially in a modern home—includes integrated smart lighting. Being able to tweak the look with your phone or voice is pretty much expected now.
One last tip: pros recommend thinking about reflection. Glossy surfaces can bounce light in odd ways, especially with LEDs. A quick check with a flashlight before installing fixtures can save a ton of headaches.
Measuring Up: How Pros Get It Right
You might think measuring a room is just about grabbing a tape measure and jotting numbers on a sticky note, but pros see it differently. They measure everything—walls, ceilings, windows, doorways, even the awkward angles you didn't notice at first. Missing even a single inch can throw off an entire project. That’s why designers double-check.
The classic 25-foot tape measure still rules for quick checks, but laser distance meters changed the game. With a laser, you can get super-accurate numbers instantly. Some designers even carry both: tape for tight spots and laser for longer distances. Brands like Bosch and Leica make the go-to devices for the industry.
Why all this obsession with exact sizing? Let’s look at what can go wrong if you get sloppy:
- Furniture won’t fit—the sofa blocks the walkway or the dining table crowds the kitchen.
- Rugs look weird—too small and they float, too big and they overwhelm the space.
- Window treatments hang crooked or too short.
Getting it right takes more than the right gadget. Designers make detailed floor plans, either hand-sketched or digital. Every wall, electrical outlet, and vent gets marked. That’s why you’ll see pros on their knees, sketchbook in hand, tracking every detail. Some even use phone apps to create 3D scans of rooms, like Magicplan or RoomScan.
Here’s a quick comparison of common measuring tools pros use, with accuracy and best uses:
| Tool | Accuracy | Best For |
|---|---|---|
| 25-ft Tape Measure | 1/16" | General room and furniture measurements, tight spaces |
| Laser Distance Meter | ±1/16" | Long distances, fast whole-room scans |
| Phone Measuring Apps | Varies (usually within 1-2% error) | Quick overviews, complex wall geometry |
The trick is consistency. Professionals pick one reference point and work out from there. That way, everything lines up when it’s time for furniture or built-ins. Even hanging art gets easier when measurements are exact. When people ask why a designer-made space just feels better, it’s almost always this attention to detail. If you want that polished, interior design look at home, it’s not about having the fanciest stuff—it’s about getting the numbers right.
Bringing It All Together: Communication and Execution
If you’ve ever watched a renovation show and wondered why their remodels go so smoothly, it comes down to one thing: constant communication. Professional interior designers spend a huge amount of time making sure everyone’s on the same page—clients, contractors, and suppliers. There are no wild guesses or surprise wall colors. Everything gets spelled out from the start.
One practical trick pros use is creating shared presentations. Most use Google Slides or Canva so everyone involved—client or carpenter—can see updated plans and comment in real time. This cuts down on costly mistakes and painful do-overs.
And when the project kicks off, execution is tightly organized. Designers keep detailed checklists, track progress with project management tools like Trello or Asana, and stick to clear timelines. Weekly check-ins aren’t uncommon. If you’re managing your own home refresh, try having quick recaps with everyone involved, not just waiting until things go wrong.
Big design firms even measure how quickly they resolve issues to keep things moving. For example, according to the American Society of Interior Designers, firms that use structured communication platforms finish projects on average 17% faster. That’s less time living in chaos and more time enjoying your new space.
| Project Factor | With Pro-level Communication | Without Pro-level Communication |
|---|---|---|
| Average Completion Time | 8 weeks | 10+ weeks |
| Budget Overruns | Rare | Common |
| Client Satisfaction (1-10) | 9.2 | 7.1 |
At the end of the day, the real secret sauce is structure. Don’t leave things to chance. Make decisions early. Keep everyone talking, and you’ll steer clear of classic home renovation headaches.
One last tip: always keep a single master plan handy—digital or printed—so there’s no confusion about the look, materials, or timeline. This way, you stay in control, just like the *interior design* pros.