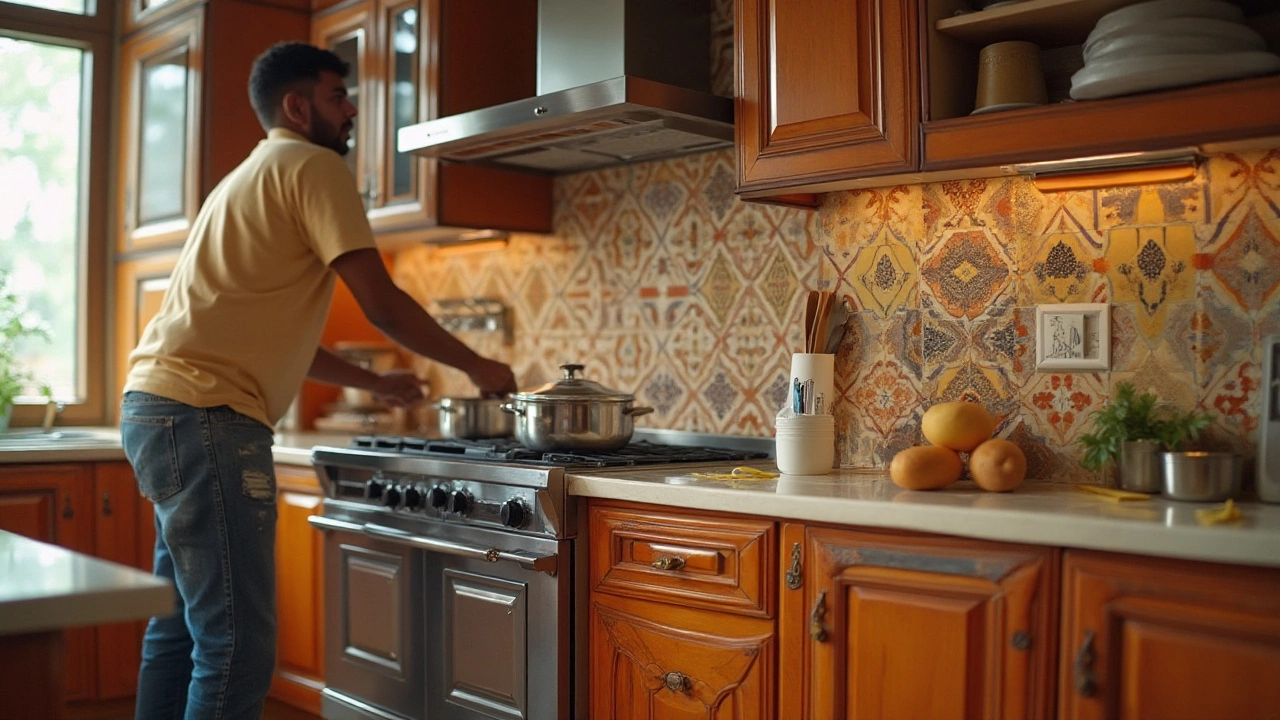
Cabinetry Setup Made Simple: What You Need to Know Before You Start
Thinking about new cabinets but feel daunted by the whole process? You’re not alone. Most people get stuck at the planning stage, and that’s where a solid setup plan saves time, money, and headaches. Below we break down the steps you actually need, from measuring the space to hanging the doors, so you can finish the job confidently.
Measure Twice, Order Right
The first rule of any cabinetry project is accurate measurements. Grab a tape, a level, and a notebook. Measure the width, height, and depth of each wall where cabinets will sit. Write down any obstacles – windows, outlets, or pipes – and note the distance from the floor to the countertop edge. When you have those numbers, use a simple spreadsheet or an online calculator to figure out how many base, wall, and tall cabinets you need. Ordering a little extra (like one extra drawer) is smarter than ending up short and having to rush a custom order later.
Plan the Layout for Function and Flow
Good cabinets do more than look nice; they make the kitchen or storage area work better. Start with the "work triangle" concept – keep the fridge, sink, and stove within easy reach. Place tall cabinets near the fridge for extra pantry space, and reserve the corners for lazy Susans or pull‑out drawers. Sketch a rough layout on graph paper or use a free floor‑plan app. This visual step helps you spot awkward gaps before you start drilling.
Next, decide on the style. Are you after sleek flat‑panel doors, classic shaker, or something in between? The style influences hinge type, hardware, and clearances. For budget‑friendly builds, consider ready‑made cabinets that you can paint or refinish – they’re often cheaper than custom work and still give a polished look.
Gather the Right Tools and Materials
You don’t need a full workshop, but a few key tools make the job smoother: a power drill with a set of bits, a stud finder, a level, a miter saw or circular saw for cutting trims, and a screw gun. Grab the right screws – 2‑in‑inch wood screws for base cabinets and 1‑in‑inch screws for wall cabinets. Also, have shims on hand to level cabinets over uneven floors. A good set of clamps helps keep cabinets steady while you secure them.
Don’t forget the safety gear: goggles, ear protection, and a dust mask. A clean workspace prevents accidents and saves you from cleaning up tiny screws later.
Installation Steps You Can Follow
1. Mark the wall studs. Use the stud finder to locate and mark stud centers along the top line where the cabinet will sit. This is where you’ll anchor the wall units.
2. Level the base cabinets. Start with the corner unit, place shims under the base, and use a level to make sure the top edge is even. Screw the cabinet into the floor joists or studs through the back.
3. Attach the remaining base units. Slide the next cabinet against the first, using clamps to keep the joint tight. Drill pilot holes through the side walls and screw them together for a solid wall.
4. Hang wall cabinets. Begin with the highest cabinet, hold it up (a helper is handy), and level it. Secure it to the studs with long screws through the back panel. Continue downwards, using the already‑installed cabinet as a guide for height.
5. Install doors and hardware. Measure the gap between door and frame, adjust hinges if needed, then attach handles or knobs. Test each door for smooth opening and closing.
6. Finish up. Fill any visible screw heads, caulk gaps where cabinets meet the wall, and clean off dust. A quick wipe with a damp cloth gives the whole area a fresh look.
Remember, the biggest mistake people make is rushing the leveling step. A tiny tilt can cause doors to sag and drawers to misalign, so spend a few extra minutes getting it right.
With these steps, you’ll have a sturdy, functional, and good‑looking cabinet setup that boosts storage and adds style. Whether you’re tackling a full kitchen remodel or just adding a pantry wall, a clear plan and the right tools make all the difference.
Now that you know the basics, grab your tape, sketch the layout, and start measuring. Your new cabinets are just a few confident steps away.
Comprehensive Guide to Kitchen Installation Essentials
Kitchen installation involves more than just assembling cabinets and appliances. It’s an intricate dance of planning, precise measurements, plumbing, electrical work, and a touch of design flair. From selecting the right materials to ensuring the workflow is efficient, a professionally installed kitchen can increase the functionality and beauty of your home. This guide will explore the various elements involved in successful kitchen installation, offering tips and tricks to ease the process.
Continue Reading