DIY Cushion Padding: Simple Ways to Boost Comfort and Longevity
When working with DIY cushion padding, the practice of adding, replacing, or tweaking the stuffing inside cushions to improve comfort and extend life. Also known as home cushion padding, it lets anyone freshen up a sofa or chair without hiring an upholsterer. Couch cushion, the padded seat component of a sofa or armchair is the most common target, but the same principles apply to dining chairs, outdoor benches, and even decorative pillows. A core part of the process is picking the right foam padding, high‑density or low‑density polyurethane foam used to fill cushions. DIY cushion padding encompasses material selection, cutting, stitching, and finishing, giving you full control over firmness, shape, and look. In short, it’s a hands‑on way to customize seating comfort and save money at the same time.
Key Materials for DIY Cushion Padding
The backbone of any successful cushion makeover is the material you choose. High‑density foam provides firm support and resists sagging for years, while lower‑density foam offers a plush, cloud‑like feel ideal for lounge chairs. Some DIYers blend both to get a layered feel—firm core, soft top. If you prefer a lighter, more breathable option, polyester fiberfill works well for decorative pillows but can compress quickly under heavy use, so it’s best paired with a foam core. For a premium touch, consider memory foam, which molds to the body but may be pricier. Regardless of the material, the goal is to match the cushion’s intended use: a dining chair needs a firmer fill than a movie‑night sofa. Knowing these attributes helps you decide what to buy and how much to use, ensuring the final cushion feels just right.
Beyond the stuffing, upholstery repair, the skill set involving stitching, sewing, and reinforcing cushion covers is a must‑know for a clean finish. Basic tools—an electric or handheld sewing machine, fabric scissors, measuring tape, and a marker—are enough to replace a worn cover or reinforce a seam that’s starting to split. A common mistake is ignoring the stitching after inserting new foam; a weak seam will let the padding slip out, undoing all your hard work. Step‑by‑step, you’ll measure the cushion, cut the foam to size (leaving a slight over‑run for a snug fit), sew or zip the cover closed, and then tuck the foam in place. Many DIY guides also suggest adding a thin layer of batting between the foam and fabric to smooth out any uneven spots. By treating the cushion as a mini‑project that includes both padding and repair, you create a durable result that looks professional.
Why bother with DIY cushion padding at all? First, comfort: a properly padded seat reduces pressure points, making long sitting sessions easier on the back and hips. Second, cost: replacing a worn cushion with new foam costs a fraction of buying a whole new sofa or chair. Third, aesthetics: you can choose fabric colors and patterns that match current décor, giving old furniture a fresh look without a full reupholster. Moreover, the skill set you develop—material selection, cutting, stitching—applies to many other home projects, from making custom pet beds to fixing outdoor cushions that have weathered the elements. Below you’ll find a curated collection of articles that walk you through everything from choosing the right foam density to fixing sunken cushions, along with tips on hanging wall art, decluttering, and other handy DIY tricks. Dive in to discover practical steps, tools, and real‑world examples you can start using today.
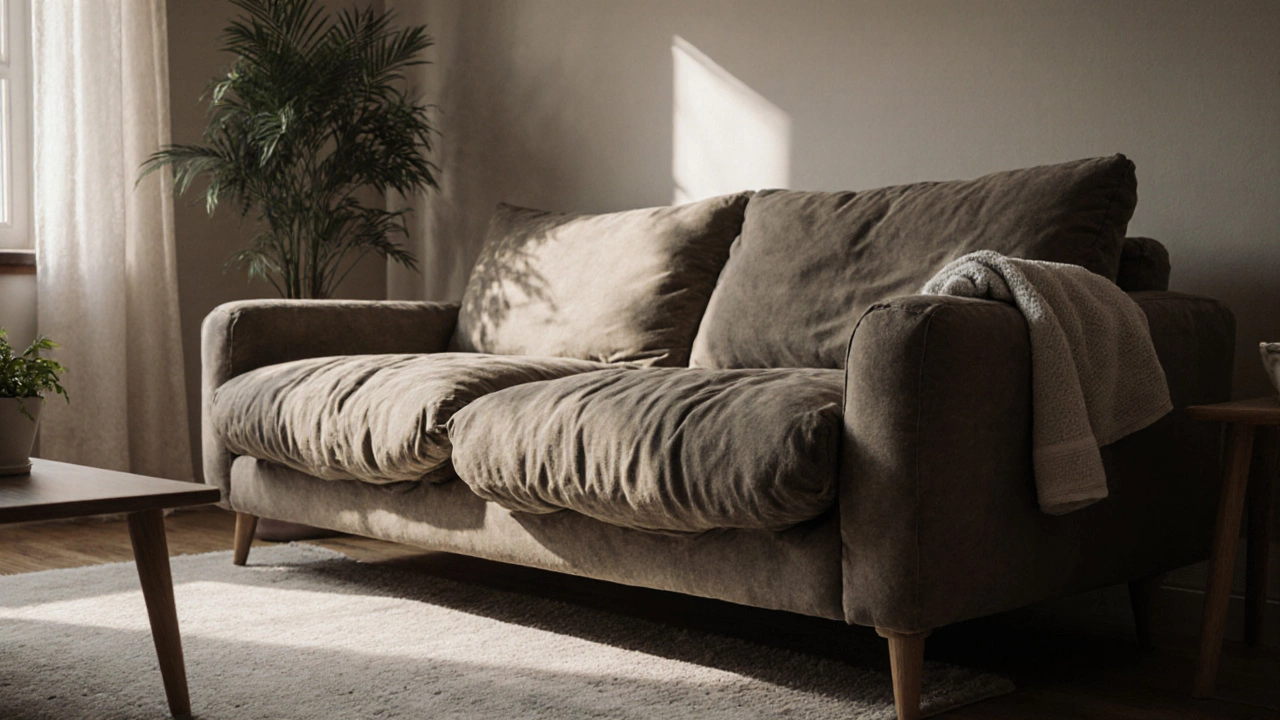
Make Old Couch Cushions Comfy: Simple DIY Upgrades
Turn saggy sofa seats into cozy spots with DIY cushion upgrades-choose the right filler, add support, and keep them fresh for years.
Continue Reading