Picture Hanging Rule: How to Place Wall Art Right Every Time
When working with picture hanging rule, a set of guidelines that help you position artwork at the right height, avoid wall damage, and keep the look balanced. Also known as picture hanging guidelines, it covers everything from eye‑level measurements to stud detection techniques. Another key concept is wall art placement, the practice of arranging frames and décor so they complement room proportions. You’ll also hear about stud finder tips, methods for locating studs to secure heavy pieces safely, and wall damage prevention, strategies that keep nails and anchors from ruining plaster or drywall.
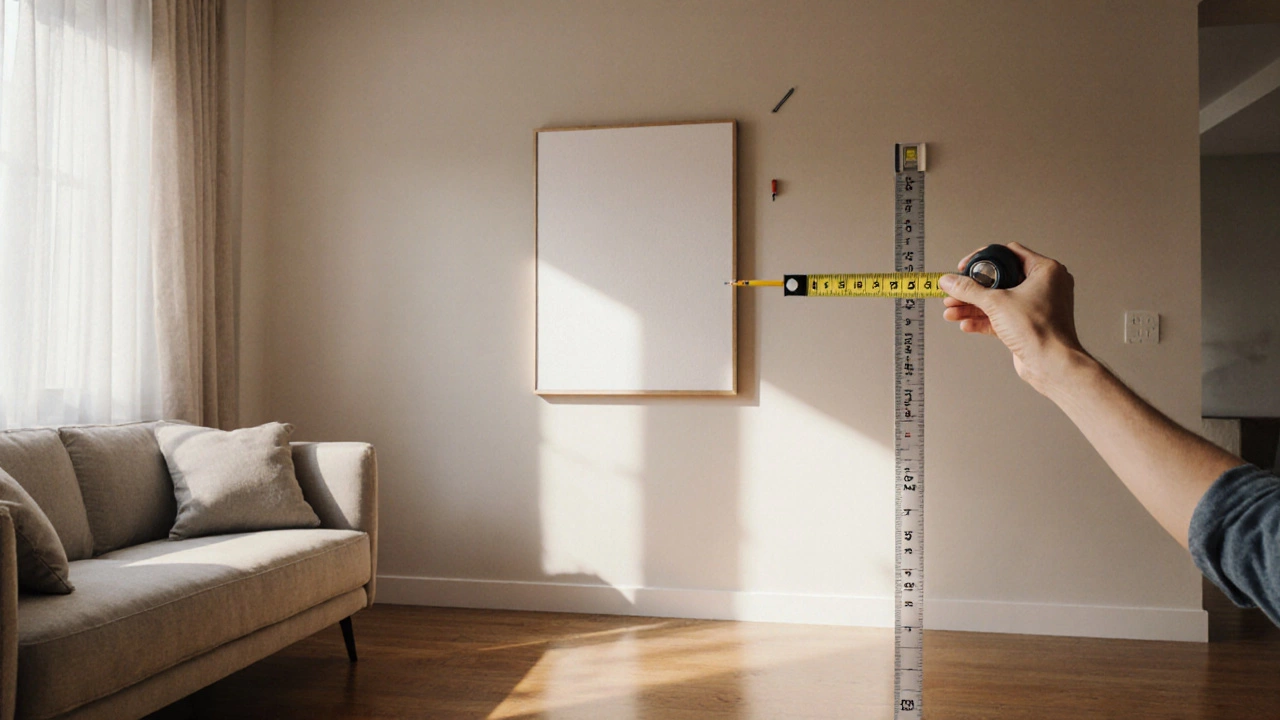
The picture hanging rule essentially says: hang art at eye level, usually about 57–60 inches from the floor, but you can adjust based on ceiling height and furniture layout. This simple measurement links directly to wall art placement because the right height makes the room feel harmonious. If you’re working in a living room with a low sofa, you might drop the center a few inches; in a tall entryway, push it higher to fill the vertical space. Each adjustment still follows the core rule of keeping the focal point within a comfortable viewing range.
Tools, Techniques, and Common Mistakes
To apply the rule, you need a few tools: a tape measure, level, and a reliable stud finder. Stud finder tips are crucial; many beginners rely on cheap magnetic models that miss deep studs. Look for an electronic finder that beeps when it detects density changes – it saves time and prevents over‑drilling. Once you locate a stud, you can use a 2‑inch screw for heavier frames; for lighter pieces, a simple picture hook on a plaster wall suffices, but always test the hook’s grip first to avoid wall damage prevention issues later.
One common mistake is ignoring the weight of the artwork. The picture hanging rule isn’t just about height; it also demands using the right hardware based on weight. Heavy ceramic tiles, for example, need anchors that go into studs, while lightweight canvas prints can hang from adhesive strips. Mixing up hardware leads to cracked plaster or sagging frames, which defeats the purpose of the rule.
Another slip‑up is forgetting the impact of surrounding furniture. The rule connects to wall art placement by urging you to align the bottom of the frame with the top of a sofa or the arm of a chair. This creates a visual line that ties the décor to the room’s function. When you line up pieces this way, the space feels intentional rather than random.
Finally, consider the lighting. If you have a spotlight or natural window, placing the art at the right height ensures the light hits the focal point without glare. This subtle detail merges the picture hanging rule with overall interior aesthetics, giving the room a polished feel.
Now that you’ve got the basics – eye‑level measurement, stud detection, proper hardware, and furniture alignment – you’re ready to tackle any wall. Below you’ll find articles that dive deeper into each step, from repairing wall cracks before hanging to choosing the perfect frame size for your dining area. Keep reading to turn these guidelines into confident, damage‑free installations across your home.
Picture Hanging Rules: How to Hang Art at the Perfect Height
Learn the essential picture hanging rule, how to measure for perfect height, choose hardware, and avoid common mistakes for flawless wall art placement.
Continue Reading