Slabjacking Made Simple: How to Lift Sunken Floors
If you’ve walked into a room and noticed a dip in the floor, you’re probably looking at a slabjacking job. Slabjacking is the cheap, quick way to lift a concrete slab back to level without tearing out the whole floor. It’s a favorite for homeowners who want to avoid big demolition costs.
What Exactly Is Slabjacking?
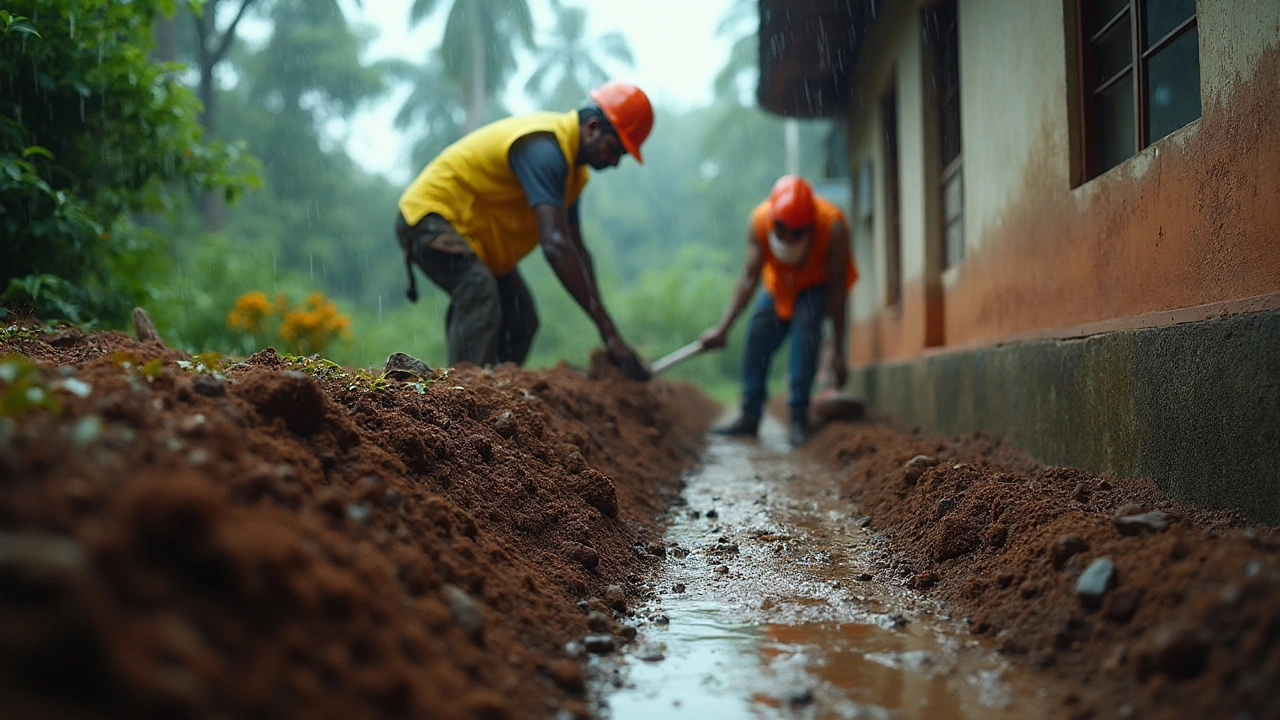
Slabjacking, also called mudjacking, involves drilling small holes in the concrete and pumping a cement‑based mixture underneath. The pressure pushes the slab up, filling the void that caused the dip. The result is a flat, stable surface that’s ready for flooring, furniture, or just walking on.
When Should You Choose Slabjacking?
Not every floor problem needs slabjacking. It works best for these situations:
- Minor to moderate dips (typically up to 2‑3 inches).
- Cracks that are more cosmetic than structural.
- Homes with a stable foundation but settled soil under the slab.
- Projects where you want to keep the existing flooring in place.
If the slab is severely cracked, water‑logged, or the foundation itself is unstable, you’ll need a more extensive repair.
The Slabjacking Process in Plain Terms
Here’s what a typical job looks like:
- Assessment: A pro checks the dip, measures depth, and decides how much material is needed.
- Drill holes: Small (about 1‑2 inches) holes are made at regular intervals across the low spot.
- Mix and pump: A lightweight cement slurry is pumped under pressure through the holes.
- Lift: The slurry fills the void and raises the slab. The professional monitors the level in real time.
- Seal: Once level, the holes are patched with a quick‑setting concrete mix.
The whole process usually takes a few hours, and the floor is ready for use the same day.
Cost and DIY Considerations
Professional slabjacking runs about $5‑$12 per square foot, depending on location and depth. That’s far cheaper than tearing out and replacing a slab.
If you’re handy, a DIY kit is available for smaller jobs. You’ll need a drill, a pump, and the right mix. DIY savings can be significant, but you also risk uneven lifts or missed voids. A mis‑lift can cause new cracks, so weigh your skill level carefully.
Tips to Get a Successful Lift
- Check drainage – water pooling around the slab can cause future settling.
- Ask the contractor to provide a “lift plan” showing where holes will go.
- After the lift, keep the floor dry for at least 24‑48 hours before installing heavy items.
- Consider a sealant on the concrete surface to protect against moisture.
Following these steps helps the slab stay level and avoids repeat work.
Common Mistakes to Avoid
Don’t skip the inspection. A hidden foundation issue will keep resurfacing no matter how many times you mudjack. Also, avoid using cheap, low‑grade mix – it can crack and lose strength over time.
Finally, don’t rush the curing time. Even though the floor feels solid right away, the material continues to set for a few days. Heavy loads too early can sink the slab back down.
Slabjacking is a practical fix for many uneven‑floor problems. Whether you hire a pro or try it yourself, understanding the basics ensures a smooth, level surface that lasts.
How to Fix a Foundation Without Lifting the House (UK 2025): Methods, Costs, and When It Works
Yes-you can stabilise a foundation without jacking. Learn drainage fixes, crack injection, foam lifting, carbon fibre, and pier stabilisation with UK costs and steps.
Continue Reading