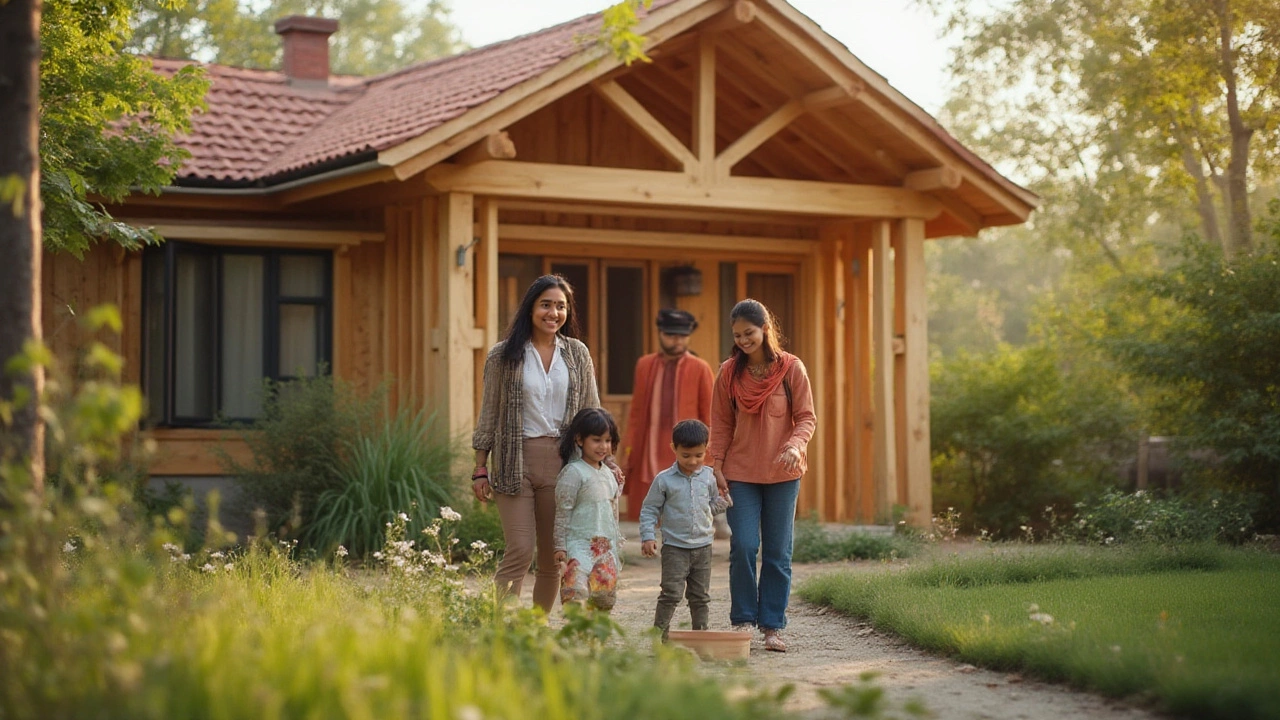
Wood Frame Construction Made Simple
If you’re thinking about building a house, adding an extension, or just want to understand how timber frames work, you’ve come to the right place. Wood frame construction is popular because it’s fast, affordable, and looks good when done right. In this guide we’ll cover the most important decisions, walk you through each building step, and give you shortcuts that save time and money.
Choosing the Right Wood
The first thing you need to decide is what type of wood to use. Softwoods like pine and fir are the go‑to for most residential projects – they’re cheap, easy to cut, and strong enough for walls, floors, and roofs. If you’re in a humid area, look for pressure‑treated or naturally resistant species such as cedar or redwood; they won’t rot as quickly. Always check the grade: a higher grade means fewer knots and a straighter piece, which makes framing faster and reduces waste.
Don’t forget to think about sustainability. Many suppliers now offer FSC‑certified timber, meaning the wood comes from responsibly managed forests. It can cost a bit more, but it’s a win for the environment and often comes with a quality guarantee.
Steps to Build a Wood Frame
Once your lumber is in hand, the real work begins. Start by laying out a detailed plan—measure the floor, mark the foundation, and double‑check every dimension. A small mistake early on can force you to redo a wall later.
1. Set the sill plates. These are the bottom pieces that sit on the concrete foundation. Anchor them with anchor bolts and make sure they’re level.
2. Raise the wall studs. Cut studs to the correct height, then nail them to the sill plates and the top plate. Use a plumb line or a laser level to keep each stud straight.
3. Install the top plate. This ties the wall together and creates a surface for the ceiling joists or roof trusses.
4. Add headers. Wherever you have doors or windows, cut a strong header to support the load above. A simple double‑2×10 header works for most residential doors.
5. Sheath the walls. Plywood or OSB panels go over the studs to add rigidity. Nail them tightly and tape the seams for a flat surface.
6. Run electrical and plumbing. At this stage you can drill holes for wires and pipes. Keep a clear path and follow local code requirements.
7. Install the roof. Whether you use trusses or stick‑built rafters, make sure they’re securely attached to the top plate. Add a layer of sheathing, then a waterproof membrane before the final roofing material.
Throughout the build, keep checking for square. A simple 3‑4‑5 triangle test can tell you if walls are perfectly right‑angled. If you spot a drift, correct it before moving on.
After the frame is up, you can move on to insulation, drywall, and finishing work. The strong, straight frame you created will make those later steps much easier.
Wood frame construction may look intimidating at first, but break it down into these clear steps and you’ll see it’s manageable. Choose good wood, plan each stage, and stay level and square—you’ll end up with a sturdy, attractive structure that lasts for years.
Type 5 Building Construction Explained: Materials, Risks, and Homeowner Tips
Discover what makes Type 5 building construction unique, its common uses, strengths, risks, and modern safety tips. Clear, homeowner-focused insights inside.
Continue Reading